

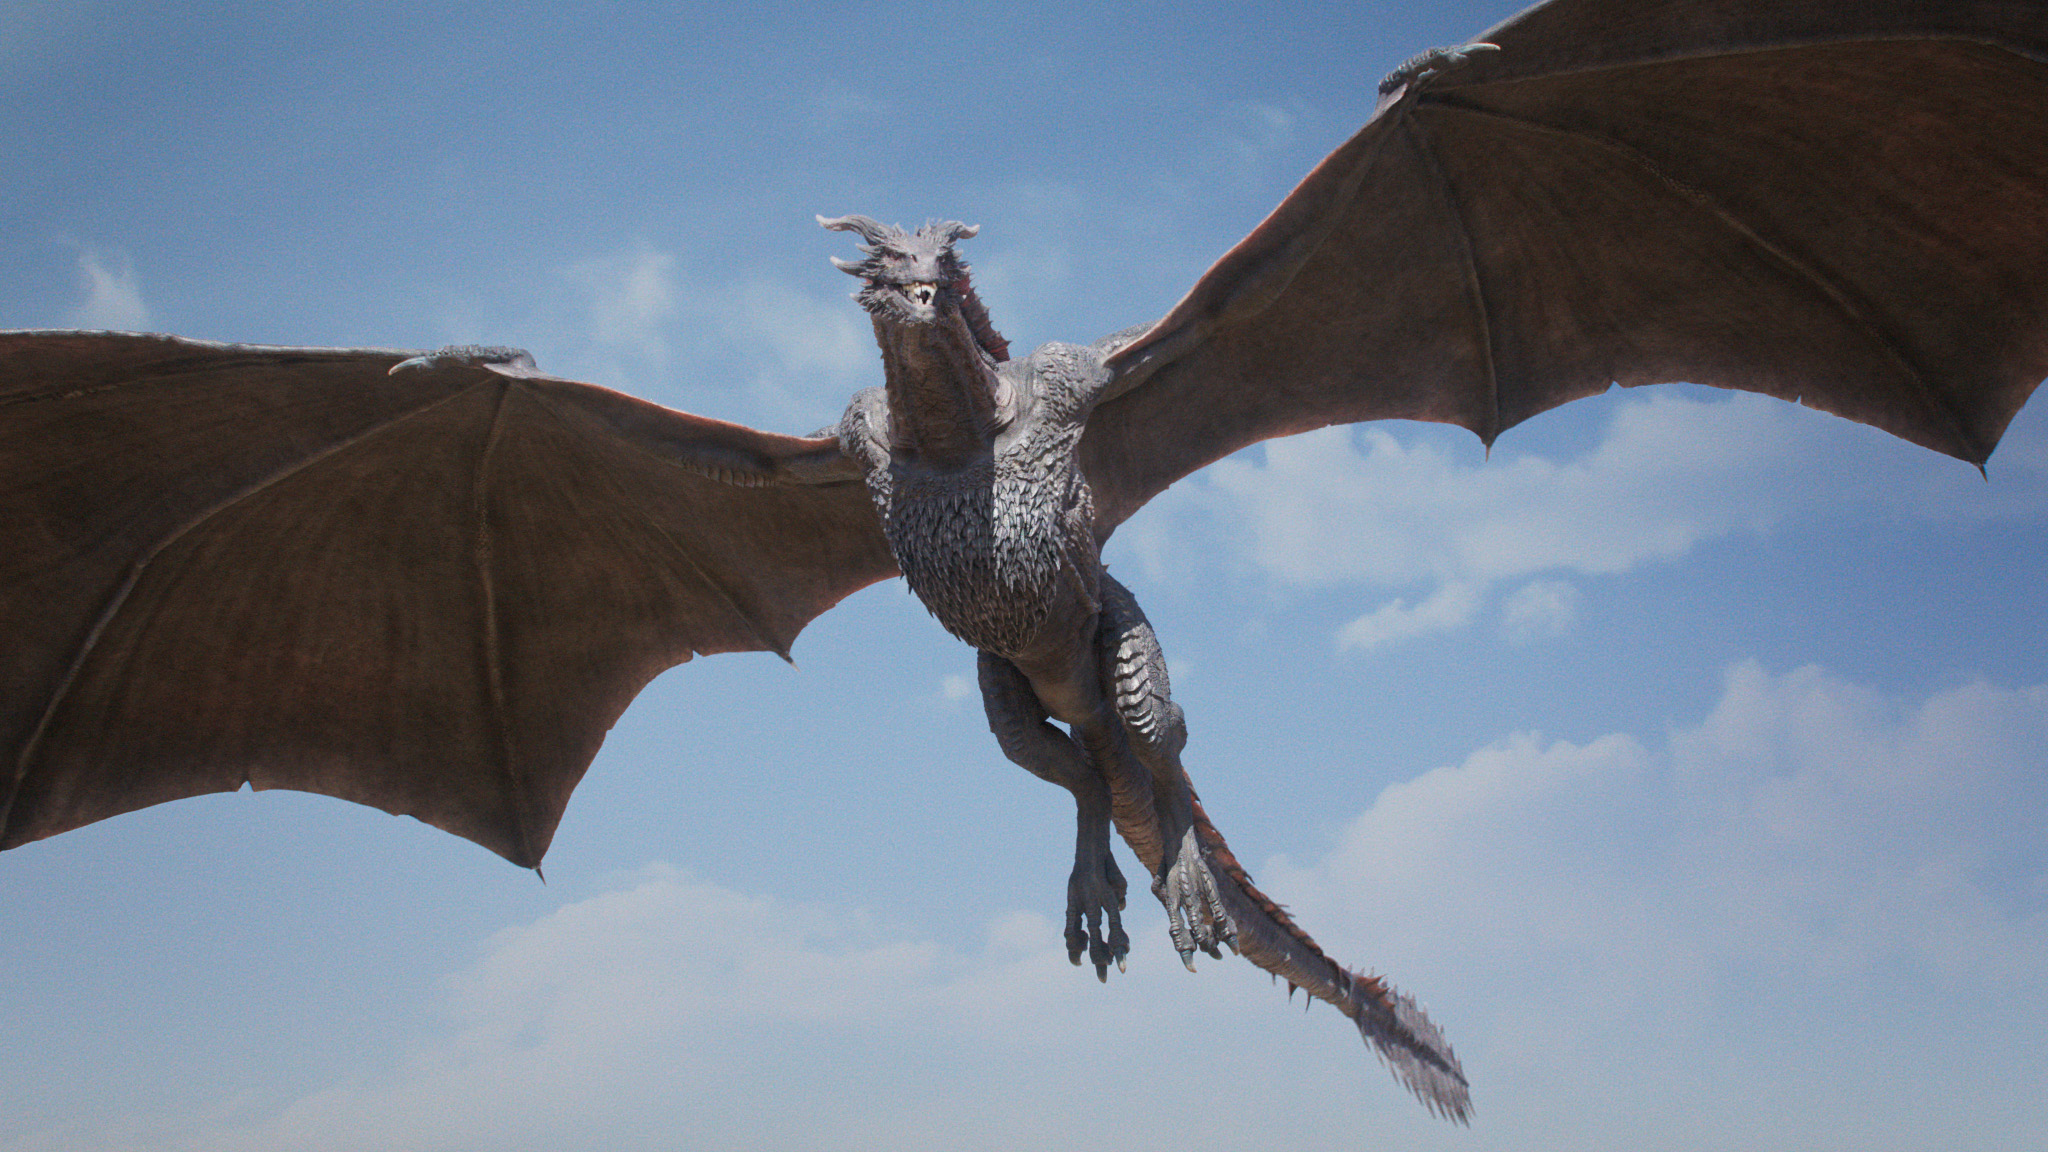
During my studies at Filmakademie Baden-Württemberg, I was responsible for rigging a dragon in Houdini for a research project.
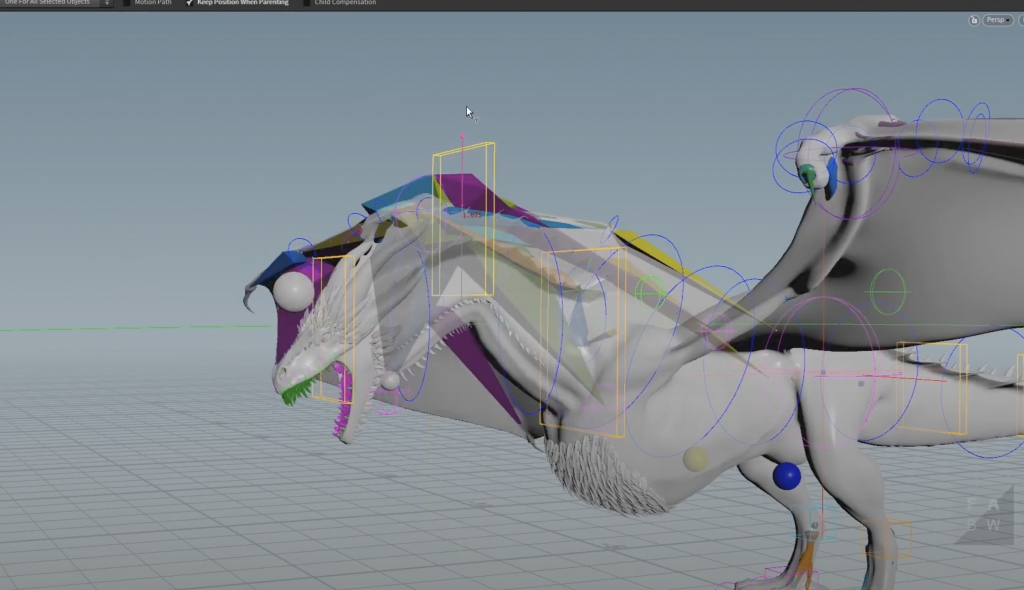
We decided to rig the whole model in Houdini 18.0, since it would me more coherent with the muscle simulation. Setting up the Rig was very comfortable and fairly easy – due to Houdini’s visual nodes and excellent non-destructive workflow. However, during the skin weighting process we encountered the limitations of Houdini Rigging. Because of the sheer amount of polygons, the model needed to be splitted into several parts to make skin painting even possible. For some parts, e.g. the wings, it became almost impossible, since Houdini’s painting tool just could not deal with the overlapping geometry. A remedy was the automatic skin weighting in Houdini, which – with a few tweeks – provided fantastic results.
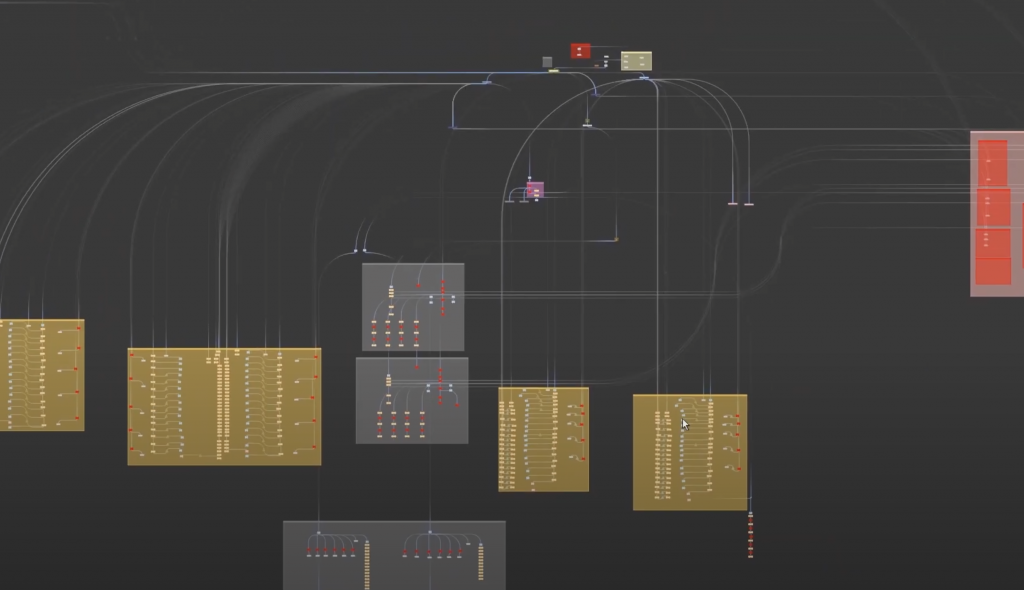
As the rig grew larger and larger, the model and rig needed to be splitted further into several nested hda files, since only using only one file was too slow to handle. Houdini’s built in Blendshape node is fine for basic features – but for more advanced usage, even masking, another solution needed to be found. So we used an attribute masking and smoothing for blending the objects into each other. This, on the one hand, provided much more control, but on the other hand led to less performance and therefore also impacted the overall animation process.
For more information and the final result click here
Here you can find a little making of (at 7:50)